ioquake3 in a container
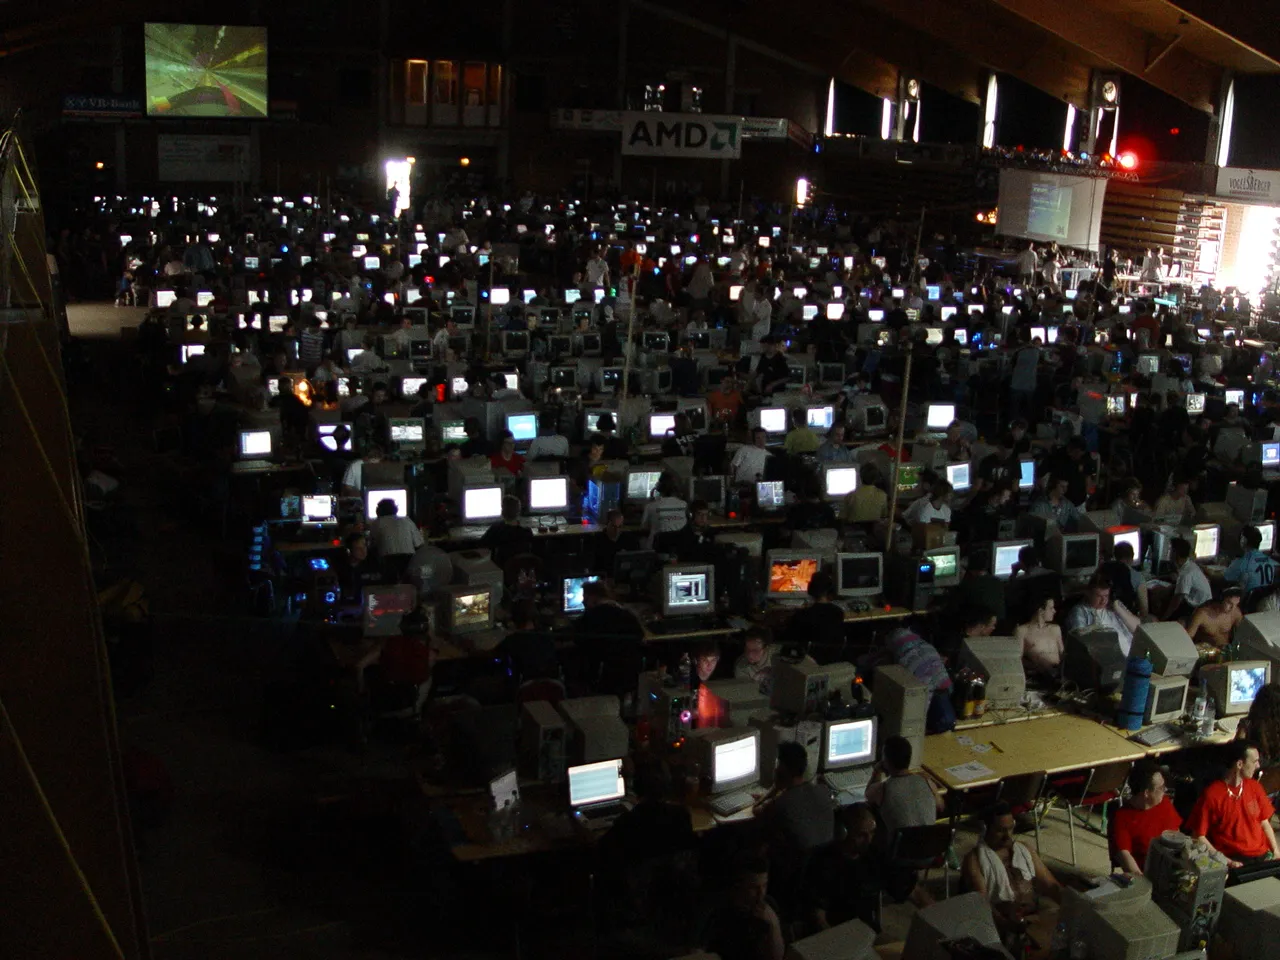
Once upon a time, people had no internet access, or it was very expensive and slow. To have some fun, they spent weekends with their friends and hung out playing games over a local area network. It was so much fun it gained some interest and the space from your friends house was just too small for all the people. Parents and families went crazy and electric bills went through the roof. Locations got bigger and peoples needed a bit more advanced networks and dedicated servers. You started writing your first programs managing tournaments and automating dedicated servers. … it was long before we talked about something like Ansible or Salt Stack :)
I had some flashbacks, when I ran into the ioquake3 project. I’ve played Q3 a lot and I also ran a some infrastructure back in the days. When id software open sourced the id Tech 3 engine, a few people made it possible to compile and run it on modern hardware - which is really amazing! I’ve spent some time and built a container image to run a ioquake3 dedicated server with something like Docker. Additionally, I’ve found a pretty old mercurial repository which allows you to run also a master server as well.
Here is how you run your own slaughterhouse, and hopefully you have some similar flashbacks like me when you write your server configs :) What you absolutely need is an original Quake 3 Arena with the pak files. They have the original game assets which are not part of the open sourced id Tech 3 engine.
Build a ioquake3 container image for a dedicated server
We build from the main branch from ioquake3 and compile it in a slim Alpine 3.15.0 base image. I use multi-stage build to have a very minimal ioquake3 image as a result.
######
## Builder stage: Compiling from source
####
FROM "alpine:3.15.0" as builder

USER root

WORKDIR /root

RUN apk --no-cache add curl g++ gcc make git sdl2-dev && \
    git clone https://github.com/ioquake/ioq3.git && \
    cd ioq3 && make release

######
## Assemble stage: Create a minimal image as runnable artifact
####
FROM "alpine:3.15.0"

RUN adduser --system ioq3

COPY --chown=ioq3 --from=builder /root/ioq3/build/release-linux-x86_64 /opt/ioq3

USER ioq3

ENTRYPOINT [ "/opt/ioq3/ioq3ded.x86_64" ]

CMD [ "-v" ]

### Runtime information and not relevant at build time

VOLUME [ "/opt/ioq3/baseq3" ]

EXPOSE 27960/udp

LABEL org.opencontainers.image.source="https://github.com/labmonkeys-space/game-container.git" \
      org.opencontainers.image.revision="8fd6d17" \
      org.opencontainers.image.vendor="Labmonkeys Space" \
      org.opencontainers.image.authors="ronny@no42.org" \
      org.opencontainers.image.licenses="MIT"
If you are impatient, I have the build instructions in my GitHub repo, you can just fork it. The OCI is published with CircleCI into my Labmonkeys organization on Quay.io if you want to use them right away.
Set up and run a dedicated ioquake3 server
To run a dedicated server you can use the following docker-compose.yml as a starting point.
I use a bind mount directory for the baseq3 directory.
It should contain all pak files from the Quake 3 Arena CD and your server.cfg file.
The parameter dedicated 2 promotes your server to the master server specified in your server.cfg.
Set it to dedicated 1 if you don’t want to publish your server to master servers.
The default port is 27960/udp.
Pro-tip: You can use different ports with +set net_port 27961 which allows you to run multiple server instances with different game types on the same machine.
---
version: '3'

services:
  ioq3:
    image: quay.io/labmonkeys/ioquake3:20211223.b3
    container_name: ioq3
    deploy:
      resources:
        limits:
          cpus: '1.0'
          memory: 128M
    command: [ "+set", "dedicated", "2", "+exec", "server.cfg" ]
    volumes:
      - "./baseq3:/opt/ioq3/baseq3"
    ports:
      - "27960:27960/udp"
Just as an example, I had set resource limits on the process preventing it to eat all my resources.
I have found a good article for a server.cfg in a blog post from Sebastian on technik.blogbasis.net.
Helped a lot and kudos, Sebastian :)
You can run the service in background with docker-compose up -d.
Build and run your own master server
If you want to provide your own master server which allows people to find games you need dpmaster. I’ve forked it to GitHub and here are the instructions to build a OCI for it from source same procedure:
######
## Builder stage: Compiling from source
####
FROM "alpine:3.15.0" as builder

USER root

WORKDIR /root

RUN apk --no-cache add curl g++ gcc make git && \
    git clone https://github.com/labmonkeys-space/dpmaster && \
    cd dpmaster/src && make release

######
## Assemble stage: Create a minimal image as runnable artifact
####
FROM "alpine:3.15.0"

RUN adduser --system dpmaster

COPY --chown=dpmaster --from=builder /root/dpmaster/src/dpmaster /usr/local/bin

USER dpmaster

ENTRYPOINT [ "/usr/local/bin/dpmaster" ]

CMD [ "--help" ]

### Runtime information and not relevant at build time

EXPOSE 27950/udp

LABEL org.opencontainers.image.source="https://github.com/labmonkeys-space/game-container.git" \
      org.opencontainers.image.revision="daf6272" \
      org.opencontainers.image.vendor="Labmonkeys Space" \
      org.opencontainers.image.authors="ronny@no42.org" \
      org.opencontainers.image.licenses="MIT"
You find the same OCI image on my Labmonkeys organization on Quay.io as well if you want to give it a spin.
The docker-compose.yml for the service is pretty straight forward.
---
version: '3'

services:
  dpmaster:
    image: quay.io/labmonkeys/dpmaster:2.3-dev.b10
    container_name: dpmaster
    command: [ "-f", "-v"  ]
    ports:
      - "27950:27950/udp"
The master server is listening by default on port 27950/udp.
Start your service in background with docker-compose up -d.
If you want to promote your dedicated server just add in your master server in your server.cfg to something like sv_master3 "<your-master-server.host>", +set dedicated 2 you are ready to go.
As soon your dedicated server started you will see in your dpmaster log docker-compose logs something like this:
dpmaster    | * 2022-01-06 22:47:53 UTC
dpmaster    | > New packet received from 192.168.32.1:57963: "\xFF\xFF\xFF\xFFheartbeat QuakeArena-1\x0A" (27 bytes)
dpmaster    | > 192.168.32.1:57963 ---> heartbeat (QuakeArena-1)
dpmaster    |   - belongs to game "Quake3Arena"
dpmaster    | > New server added: 192.168.32.1:57963. 2 server(s) now registered, including 1 for this address quota
dpmaster    |   - index: 1
dpmaster    |   - hash: 0x01CA
dpmaster    | > 192.168.32.1:57963 <--- getinfo with challenge "P)QT^z.qmvC"
You are now ready to build your own little gaming community and wish you all gl & hf!